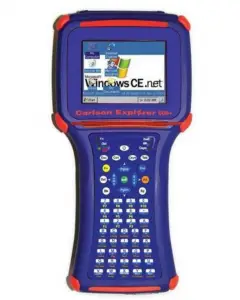
Carlson Explorer 600+

Known Issue
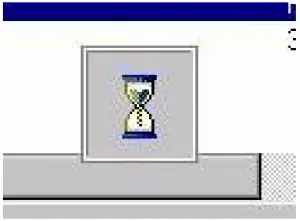
There is an icon of an hourglass that pops up in many screens when SurvCE is processing commands or communication calls. This hourglass icon seen below is not popping up or not rotating correctly in the current operating system of CE.NET 5.0, 5.0.38. The issue is being addressed by Microsoft and will most likely be fixed in a subsequent OS version.
The risk is a user may think the SurvCE program is locked up when simply performing a known command that normally takes several seconds.
Optional Features
Internet GSM Driver – There is a device available called the Enfora GSM 0110 CF card. This device plugs into the top CF card slot of the Carlson Explorer 600+, Carlson Explorer II, and Carlson Explorer. The Carlson Explorer 600+ has the drivers to run this device built into the operating system.
If you want to run the Enfora CF card on a Carlson Explorer II or Carlson Explorer, please contact sales to order a driver. The driver is not included in these two models. It is only included in the Carlson Explorer 600+.
There is a detailed workflow of how to use this driver located on our website at:
http://update.carlsonsw.com/kbase_main.php action=display_topic&topic_id=395
Bluetooth
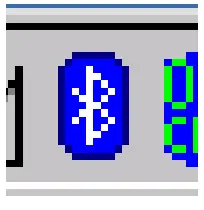
The Bluetooth component inside the Carlson Explorer 600+ is managed by an Atinav controller. This is somewhat different than previous Bluetooth drivers. The Atinav Bluetooth controller has two parts. The first part is inside SurvCE, and the other blue “B” icon on the taskbar. (See figure below for the Bluetooth Icon) SurvCE controls the Bluetooth connections to surveying equipment from within the SurvCE program. In the past, you could activate your BT connection from the taskbar, but with this unit we recommend using the SurvCE internal Bluetooth driver. For more information on the AveLink program, launched from the B on the task bar, please visit our website.
 This icon shows the AveLink Bluetooth driver being turned OFF. This icon does not relate to the SurvCE Bluetooth controls. SurvCE Bluetooth runs
independently from this AveLink driver and Icon. independently from this AveLink driver and Icon.
ActivSync
When connecting to your PC to use ActivSync through the USB cable, you may receive a pop-up dialog box asking you to identify a USB driver. Simply ignore this message, and press the X box to close the dialog.
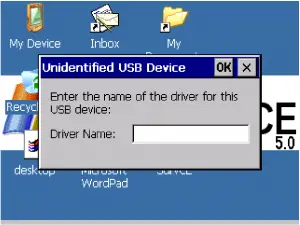
The reason for this pop-up box is an exciting addition of USB device support for the Explorer 600+. In the future, you may be able to connect USB devices such as printers and memory sticks to the USB port.
OTG
This is new, seen in the task bar. It stands for “On The Go”. This reacts when you plug in a USB cable. It will change to OTG/Client if you ActivSync to a PC. It will change to OTG/Host if you connect a USB flash stick. There will be increasing interest in this feature as new USB devices such as mouse and printers become available.
The following is how to switch between using Serial or USB for ActivSync.
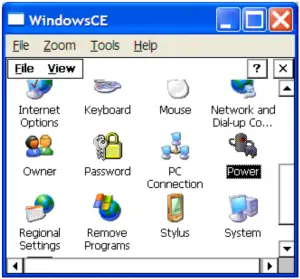
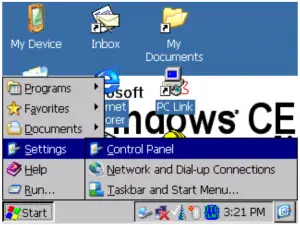
Go to Start, Settings, Control Panel, PC Connection.
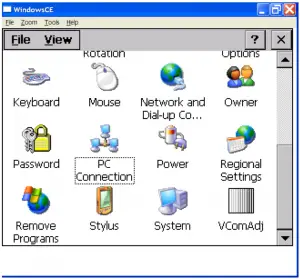
Be sure the top checkmark box is checked.
Choose between serial 9-pin (PC-115K) and (USB_Serial) for the small USB port.
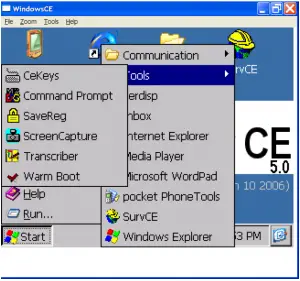
If you experience difficulty connecting to ActivSync try a Warm Boot. Warm Boot is in Start, Programs, Tools, Warm Boot. This is safe. No data will be lost on a Warm Boot.
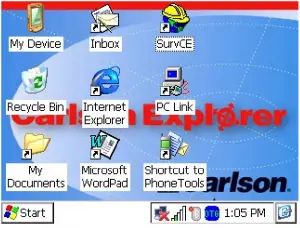
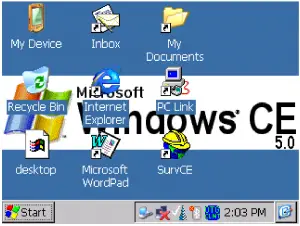
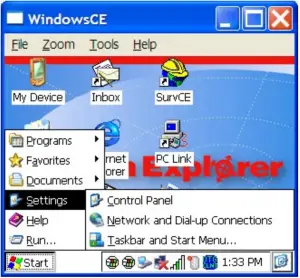
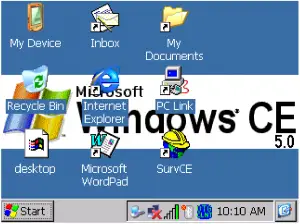
Desktop
The few changes here are just the new name of My Device, a Media Player, and an optional Pocket Phone Tools icon. The production units will have the Carlson Background.

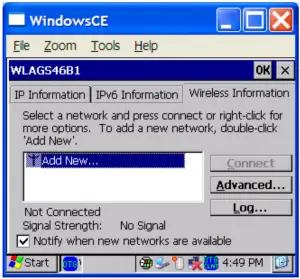
You can connect to wireless networks using the internal WiFi program. (There is an additional WiFi manual available on our website at:http://update.carlsonsw.com/kbase_main.php action=display_topic&topic_id=392)
This screen comes up each time you turn on, until you uncheck the bottom left checkbox, or disable the WiFi. To disable it see “Power Recommendations” section to follow.
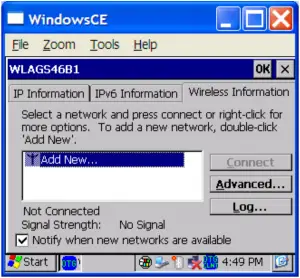
Once the box in the lower left corner is unchecked, the reminder of found WiFi networks will not interrupt your work. This setting simply disables the notification of found networks. It does not disable the WiFi internal radio.
To conserve power, you want to disable the WiFi searching radio. See Power Recommendations to follow.
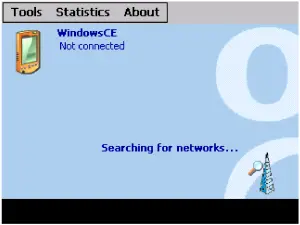
Socket WiFi Companion
A WiFi manager software from Socket is included in the unit. It can be accessed from the task bar using the icon that looks like a radio tower with either a check mark as seen below, or an hourglass, signifying searching.

Double tap the radio tower icon from the task bar.
A Socket WiFi Companion program will launch and has three menus, Tools, Statistics, About.
The Tools menu is shown below. Notice the Power Save option.
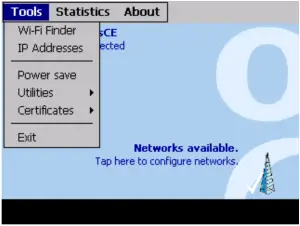
The Power Save options allow for an automatic power management box to be engaged. Based on your WiFi needs, you may be able to reduce the power usage by sliding the bar to the left, or see Power Recommendations on how to turn off the WiFi feature completely.
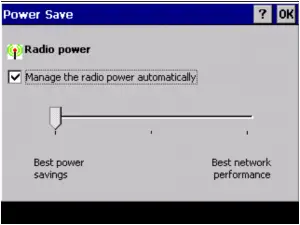
The figure below shows the automatic power management engaged
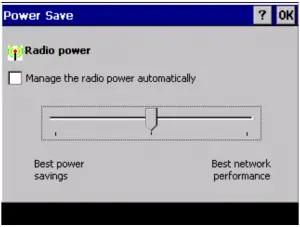
This figure below, allows you to slide the bar farther to the right, increasing WiFi performance but using more power.
Power Recommendations
The Carlson Explorer 600+ is packed with communication capabilities. With each additional feature, the units use more and more power. Here is a list of possible measures to take to maximize you battery performance.
- Backlight
- CPU Speed
- Power suspend options
- Charging practices
- High capacity batteries
- Disable WiFi Radio.
- The Backlight – The backlight is controlled by a setting in Control Panel. If you use the device in normal outdoor light conditions, you may reduce the backlight percentage to 20-25 percent.To change the backlight settings go to Start – Settings – Control panel.
 Select Backlight
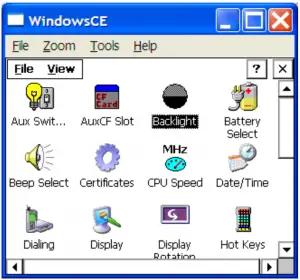
Then slide the center bar marker to the left to reduce
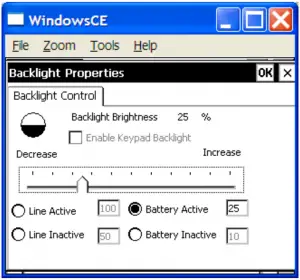
Simply press OK to leave the Control Panel.
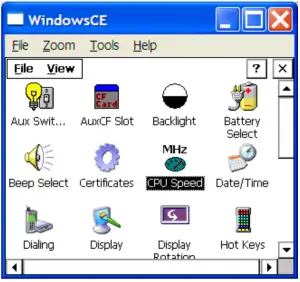
- CPU Speed – The processor in this device is a 624Mhz processor that can be set down to 312Mhz.Select the CPU Speed icon from the Control Panel.
 The Current Speed setting is how you want the unit to run from this point on until the device is re-booted. The Cold Boot setting will set the CPU speed after the device is rebooted.
A 312Mhz setting will use 40% less power consumption than the 624Mhz setting, so depending on your application this power savings could be significant.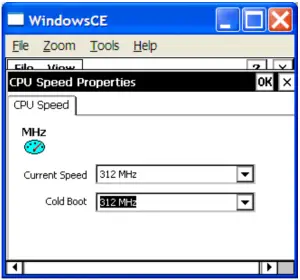
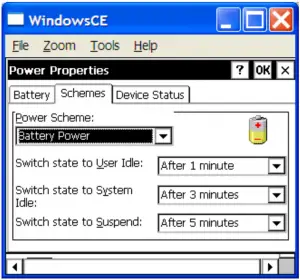
- Power Suspend OptionsThere are setting to control the timing of suspend functions. When the unit enters suspend, power is conserved.
- Charging Practices – The Carlson Explorer 600+ has an internal charging mechanism for the NiMH batteries. The unit first quick charges the battery and then stays on a trickle charge. If you have a high capacity battery (Greater than 1500mAh) you will need to let the unit trickle charge the battery, if you want to charge beyond the 1500mAh. A complete charge and trickle charge can be accomplished in 5 hours. So we recommend an overnight charge.
- There is a high capacity battery (2700mAh) available for the Explorer 600+. The standard batteries in the Carlson Explorer and Explorer II were either 1500 mAh or 1650 mAh.
- Disabling the WiFi radio will conserve power. Do this by going to the Control Panel. From the Start button – Settings – Control panel,
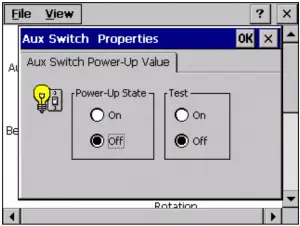
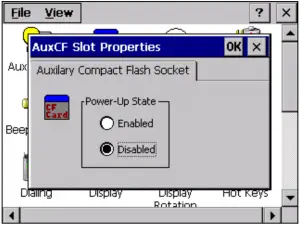
Then select AUX Swit… and Aux Slot to change the values to Off and Disabled, respectively.
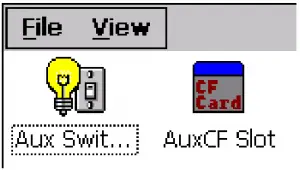
The Values for Aux Switch are seen below.
The values for Aux Slot are seen below.
Once these settings have been changed, reboot the device by Warm Boot or removing the battery to implement the changes once the device reboots. You will know that WiFi has been disabled because the radio tower icon is gone from the task bar.
To turn WiFi back on – Go to Control panel and switch the above Aux values back to On and Enabled. Then reboot. The WiFi will begin running again.
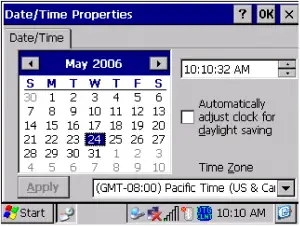
Date and Time
Be sure to adjust the date and time of your device. Some applications require the date and time to be accurately set.
The date and time settings can be accessed by double tapping the time value displayed in the bottom right task bar.
A shortcut exists for setting the year. Simply tap once on the year value. It will then activate and allow you to select the correct year.
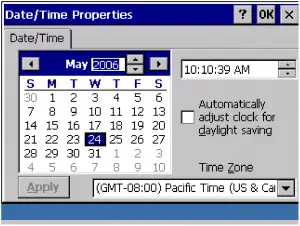
The Month, Date, and Time can then be changed. Please notice the Apply button, and use it to make the settings change.